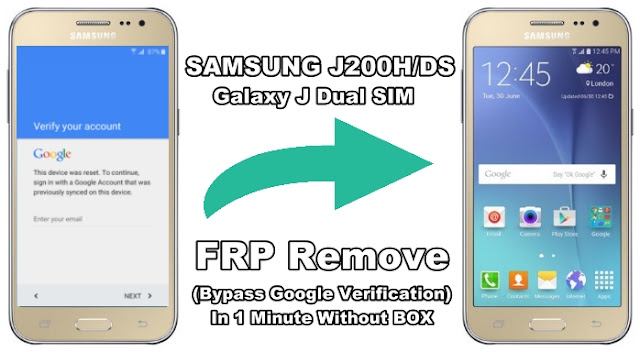
Galaxy J2 Sm-J200h/Ds Frp Remove Without Box 100% Working

Before starting FRP removing procedure, you will need to download and install following stuff that is given below.
- Samsung USB Drivers
- Odin Tool (Samsung Flashing Tool)
- J200H COMBINATION_ODD_FA51_J200HXXU0APF1
- J200H Stock ROM J200HXXU0AQK2
How To Remove J200H/DS FRP By Using Odin - Complete Guide
- Install Samsung USB drivers on your PC (Skip this step if already installed).
- Power off your device and boot into Download Mode (Press and hold Volume Down + Home + Power button at the same time, Release all buttons when warning sign appear then press Volume Up button to continue).
- Extract Odin software and launch it then connect your phone with PC via USB data cable, Odin will detect your device.
- Now you need to flash Combination file first, Click on AP button and select COMBINATION_ODD_FA51_J200HXXU0APF1.tar file then click on Start button. When Green Pass message appear, phone will Reboot automatically.

- Now Your phone is in Factory Binary Mode, Go to Settings>> General>> About and tap the Build Number for 7 times until you see developer options dialogue box.

- Now go back to Settings>> Developer Options and enable OEM lock.
- Go to Settings>> Backup & reset>> Factory data reset>> RESET PHONE>> ERASE EVERYTHING.
- After Factory Reset, Power off your device and boot into Download Mode. Connect your phone with PC, Open Odin tool and write flash back to Stock ROM (Original Firmware).
- Click on AP/PDA button and select J200HXXU0AQK2_J200HOJV0AQK1_J200HXXU0AQK1_HOME.tar file from Stock ROM folder and click on Start button.
- When Green Pass message appear, phone will Reboot automatically. After flashing, phone will reboot in normal mode and now you don't need any Google Account Verification. FRP is successfully removed.